7153

Get a Live Demo

You need to see DPS gear in action. Get a live demo with our engineers.

White Paper Series

Check out our White Paper Series!

A complete library of helpful advice and survival guides for every aspect of system monitoring and control.

DPS is here to help.

1-800-693-0351

Have a specific question? Ask our team of expert engineers and get a specific answer!

Learn the Easy Way

Sign up for the next DPS Factory Training!

DPS Factory Training

Whether you're new to our equipment or you've used it for years, DPS factory training is the best way to get more from your monitoring.

Reserve Your Seat Today

"How to Install the T/Mon MySQL Agent..."

Install MySQL

Unable to Install MySQL for T/Mon Agent?

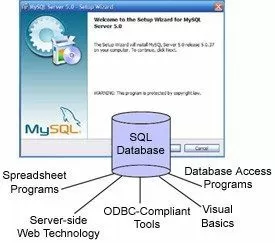
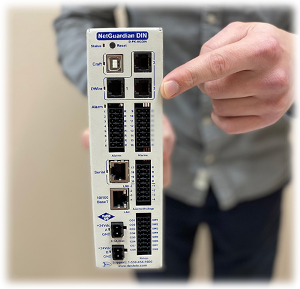
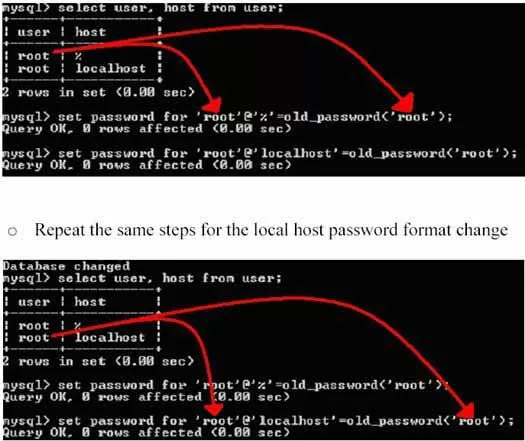
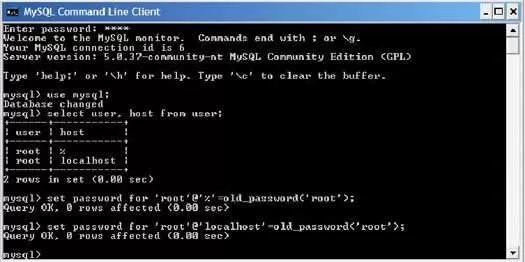
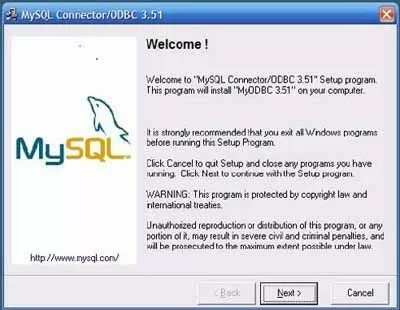
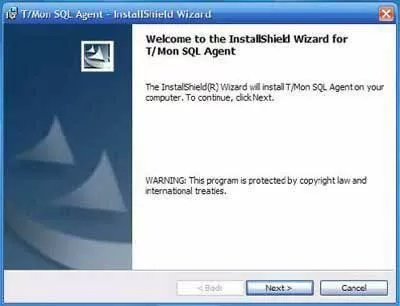
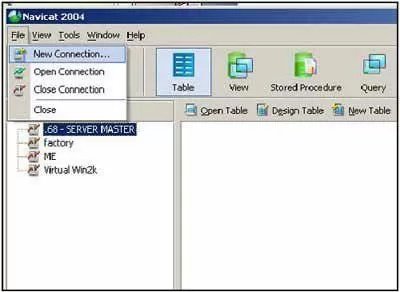
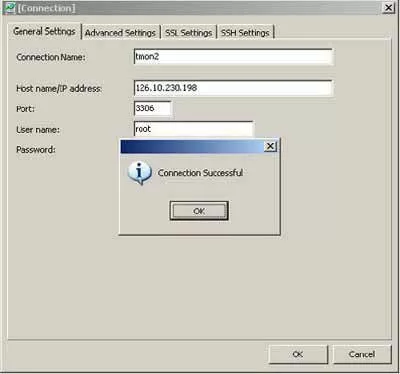
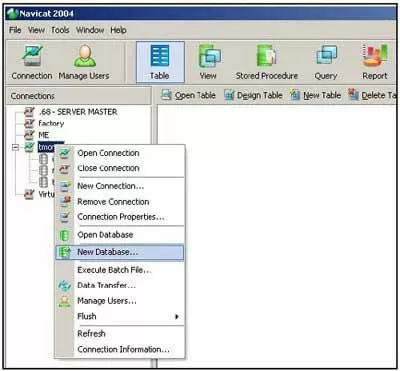
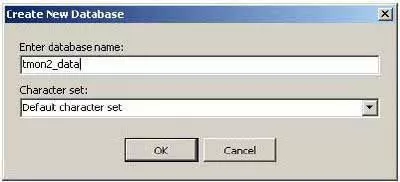
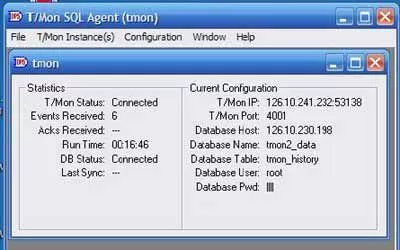
Platform: T/Mon SQL Agent.

T/Mon SQL software module allows you to integrate multiple T/Mon alarm data history files into a single advanced SQL database. You can store millions of alarm events into a single SQL database.

This techno knowledge paper can help you if:


  • You are attempting to Install MySQL for T/Mon SQL Agent.

Quick Reference Chart

MySQL Quick Reference
(for more details, review the troubleshooting checklist below.)

Troubleshooting Checklist


  • Download or copy the MySQL installation file onto your desktop.
  • Double-click the icon for MySQL installation file.
  • Click 'Next' on the MySQL installation wizard welcome screen.
    MySQL Installation
  • Select 'Typical' installation.
  • Use the Default Path.
  • Click on Install.
  • Click on 'Finish' after Installation.
  • Now, it's time to configure MySQL Server instance. Begin by selecting the 'Detailed Configuration' option.
    MySQL Installation
  • Select 'Developer Machine'.
  • Select 'Multifunctional Database'.
  • Select drive 'C:' and 'Installation Path' directory for InnoDB Tablespaces setting.
    MySQL Installation
  • Select 'Decision Support (DSS) OLAP'.
  • Select 'Enable TCP/IP Networking' and de-select 'Enable Strict Mode'.
    MySQL Installation
  • Select 'Standard Character Set'.
  • Select 'Install as Windows Service'.
  • Enter and confirm your Password.
  • Select 'Enable root access from remote machines'.
    MySQL Installation
  • Click on 'Execute' to start configuration.
  • Click on 'Finish' to close Wizard after configuration is complete.
    Basic installation should now be complete.
  • Open up your MySQL command prompt:
    • Click on 'Start' icon.
    • Select 'Programs'.
    • Select 'Files'.
    • Select 'MySQL'.
    • Select 'MySQL Server 5.0'.
    • Select 'MySQL Command Line Client.
  • Type your Password: root.
  • Change the format of your password to root:
    • Type use mysql and press 'Enter'.
  • Type select user, host from user; and press 'Enter'.
    • You should see a box like the one shown below that displays the passwords that are set for the remote password as well as the local (localhost) password.
  • To set the password to the correct format, type the password found in the box and use that in the command below:
    Type set password for 'root'@'%'=old_password('root'); and press 'Enter'.
    SQL Command Line
  • The entire sequence should look very similar to the picture below:
    SQL Command Line
  • Install T/Mon SQL Agent.
    • Go to DPS website (www.dpstele.com).
    • Click on Support on bottom left hand corner.
      Where to find support button
    • Log into Support account.
    • Go to Firmware/Software downloads.
    • Select T/Mon SQL Agent.
    • Select version 1.02.0000.
    • Save to desktop.
    • Unzip both T/Mon SQL agent and MyODBC.
    • Double click MyODBC installation.
    • You should see "Welcome to MyODBC" page as shown below:
      MySQL Connector/OBDC installation
    • Click 'Next'.
    • Click 'Next' to agree to the terms.
    • Click 'Next' the read me statement.
    • Click 'Next' to start installation.
    • Click 'Next' to finish OBDC installation.
  • Install T/Mon SQL Agent.
  • Click on 'Installation Program'.
  • Click 'Next' for InstallShield Wizard.
    T/Mon MySQL Agent installation
  • Select 'I accept the terms to the license agreement'.
  • Click 'Next'.
  • Fill in customer information.
  • Select 'Typical Installation'.
  • Click on 'Next'.
  • Click on 'Install'.
  • Click on 'Finish'.
  • Create database on machine running MySQL.
    • Launch MySQL administrative tool (Navicat).
    • Click on 'Start' icon.
    • Select 'Programs'.
    • Select 'Administrative Tool' (Premium Navicat).
    • Go to 'File' > 'New Connection'.
      Navicat
    • Fill in the Name, IP information and Password of the machine that will be running MySQL.
    • Click 'OK' for Test Connection.
      Connection Successful
    • Go to 'Connection' box.
    • Click on the server that you defined in the previous step.
    • Right click this server connection and select new database.
      Navicat
    • Fill in the database name you will be using (for example tmon2_data).
      create new database
    • Click on database name in connections box (tmon2_data) to view database history.
    • Setup the T/Mon for an SQL job and setup the DPS SQL Agent.
    • Launch DPS SQL Agent to see connection status for the T/Mon and database.
      T/Mon SQL Agent

If you experience any problems installing MySQL for T/Mon SQL Agent, please contact DPS Telecom Tech Support at 1-800-693-0351.